

I created this teal and pink yeti by using the stuffed yeti pattern from Urbanthreads and the Fluffy Yeti tutorial. This was the first something I have created using just the embroidery machine. Also, water soluble stabilizer on minky fabric. I will definitely be doing more experiments like this one in the future.
Beaded dolls
Not my usual kind of craft.. it's not really geeky or modern... but this was something I had to do for sentimental reasons. My mom had these dolls that she would put out every Christmas when I was young. They were one of the first handmade things I had ever seen (a crafty friend of hers had made them) and my twin sister and i thought they were the MOST beautiful things ever. The way the beads caught the light and we would play with them forever, so careful not to damage them. There were three of them total, one for each of the sisters.They are still what I think of when I picture Christmas... my default image (warm living room, brightly lit fake tree, lights up the stairs and no table lamps or TV on. It was beautiful.
When I moved out of state and had a house to decorate for Christmas, it felt like I was missing them. I had always pictured the dolls above a fireplace on display. I asked my Mom if she could send them to me, but somehow they had gone missing over the years of non-use. That made me sad, so I decided to make my own versions. I'm not loving the faces on all of them, but they are so close to what I remember.... I look at them and i'm that little girl again twirling these dolls carefully while wondering what the future will be like. I of course had to experiment so I ended up with 5 total with two being mirror images (I am a mirror twin so I had to). I had a lot of fun with customizing each.

The tutorial I used was: http://galleryofgrace.hubpages.com/hub/Make-Beaded-Safety-Pin-Dolls


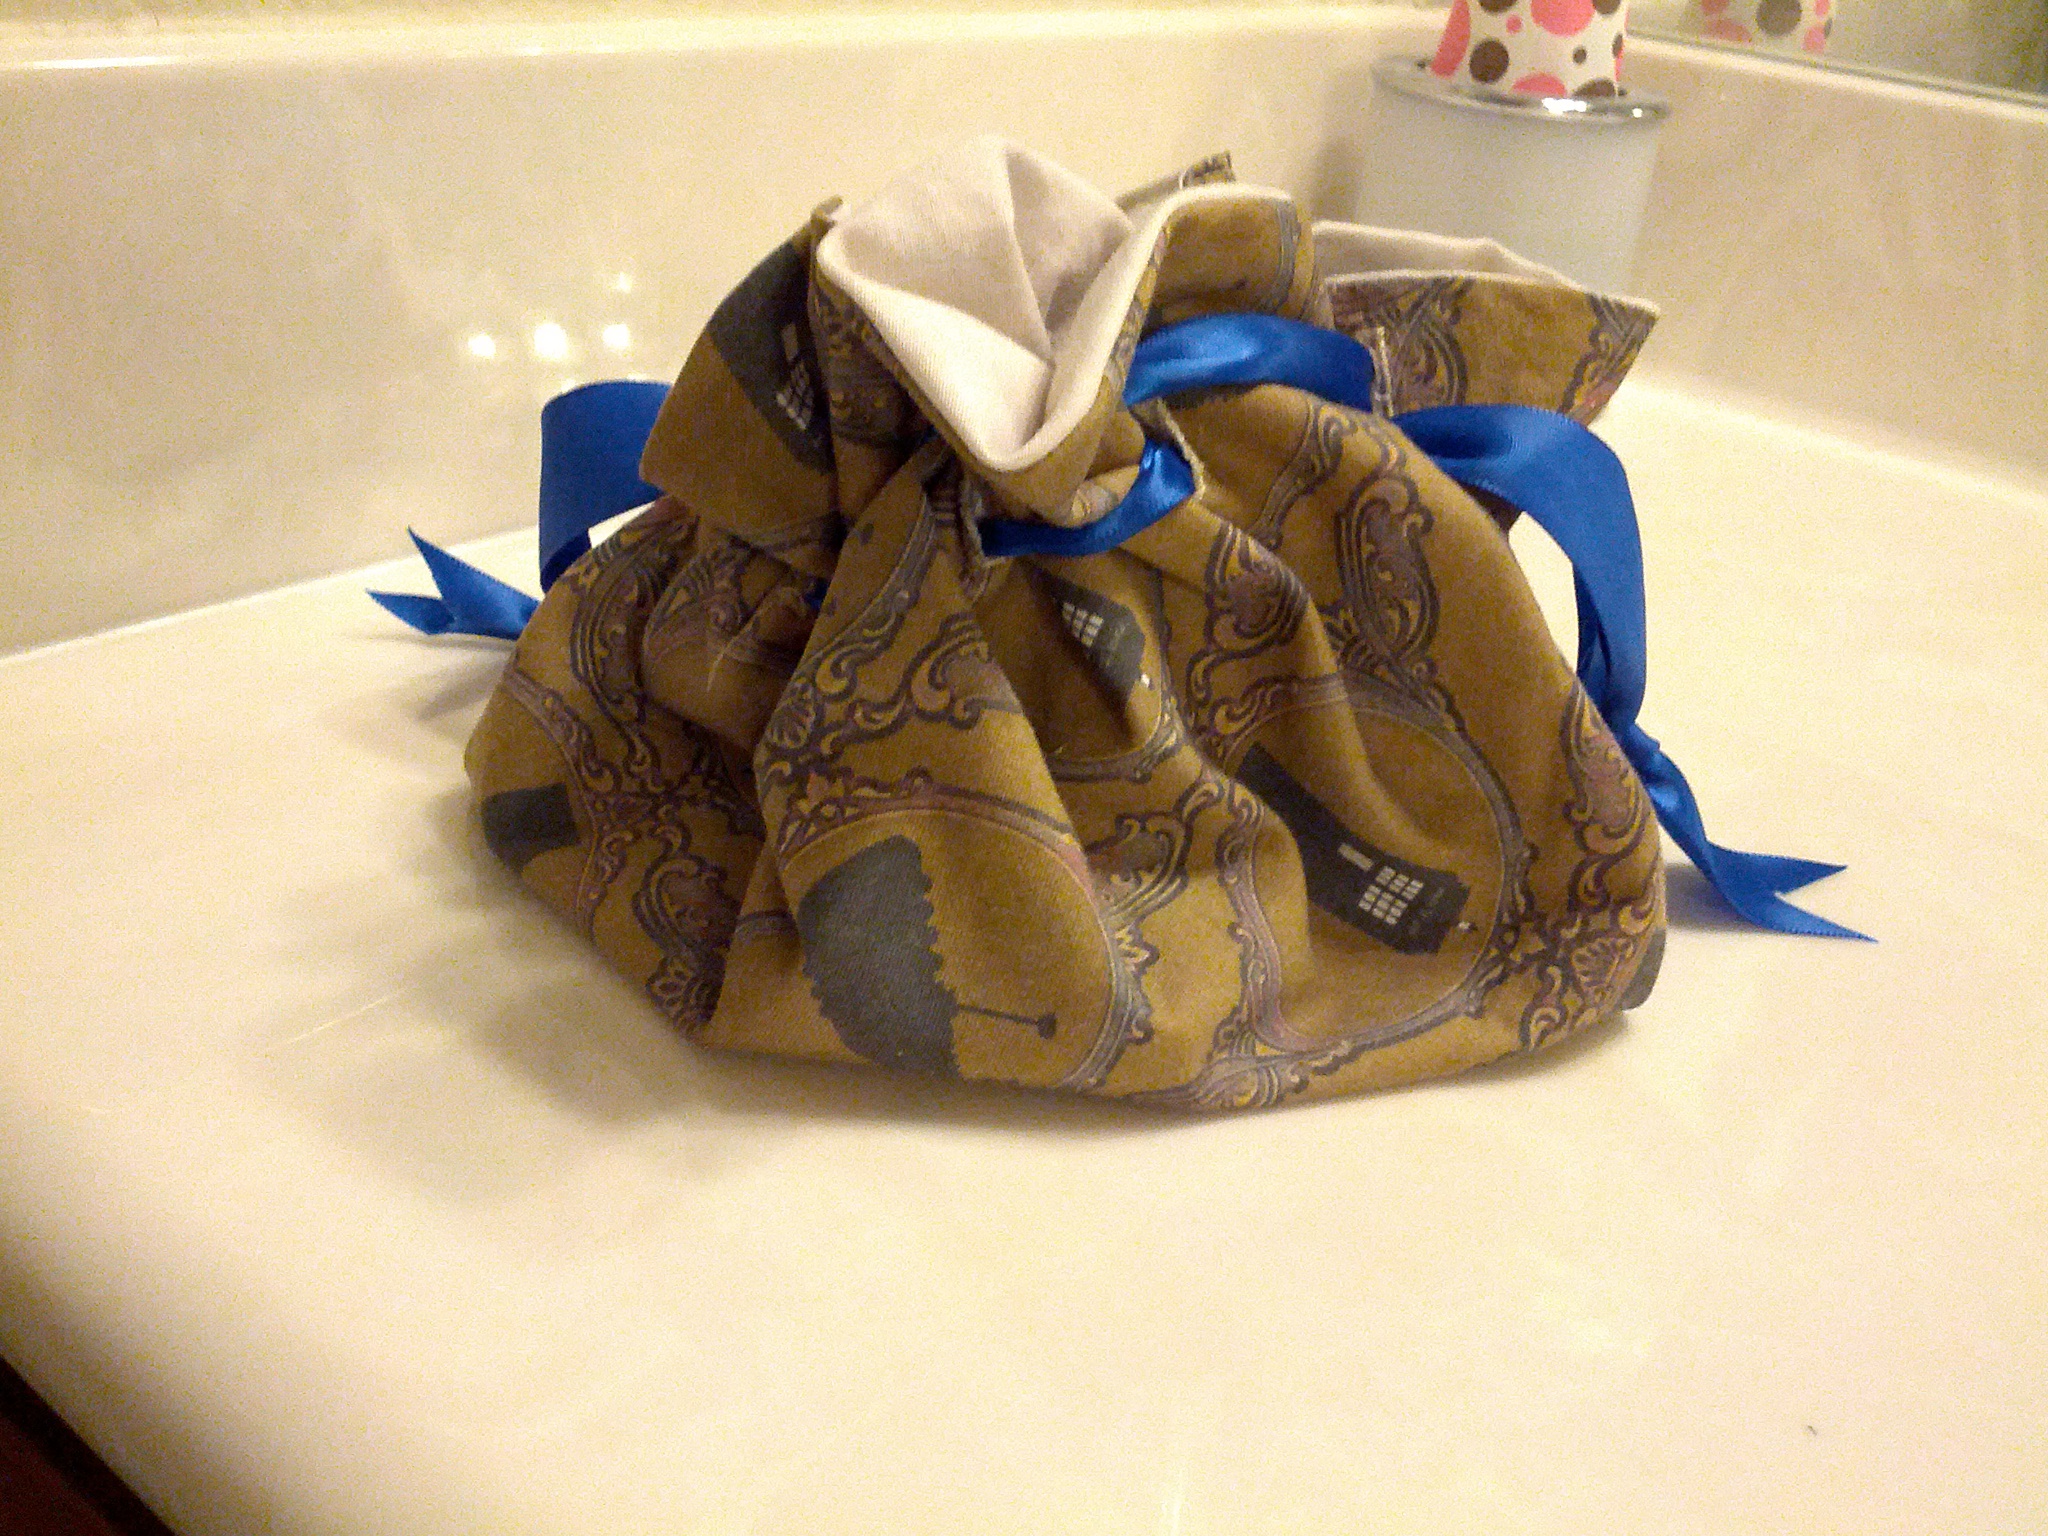
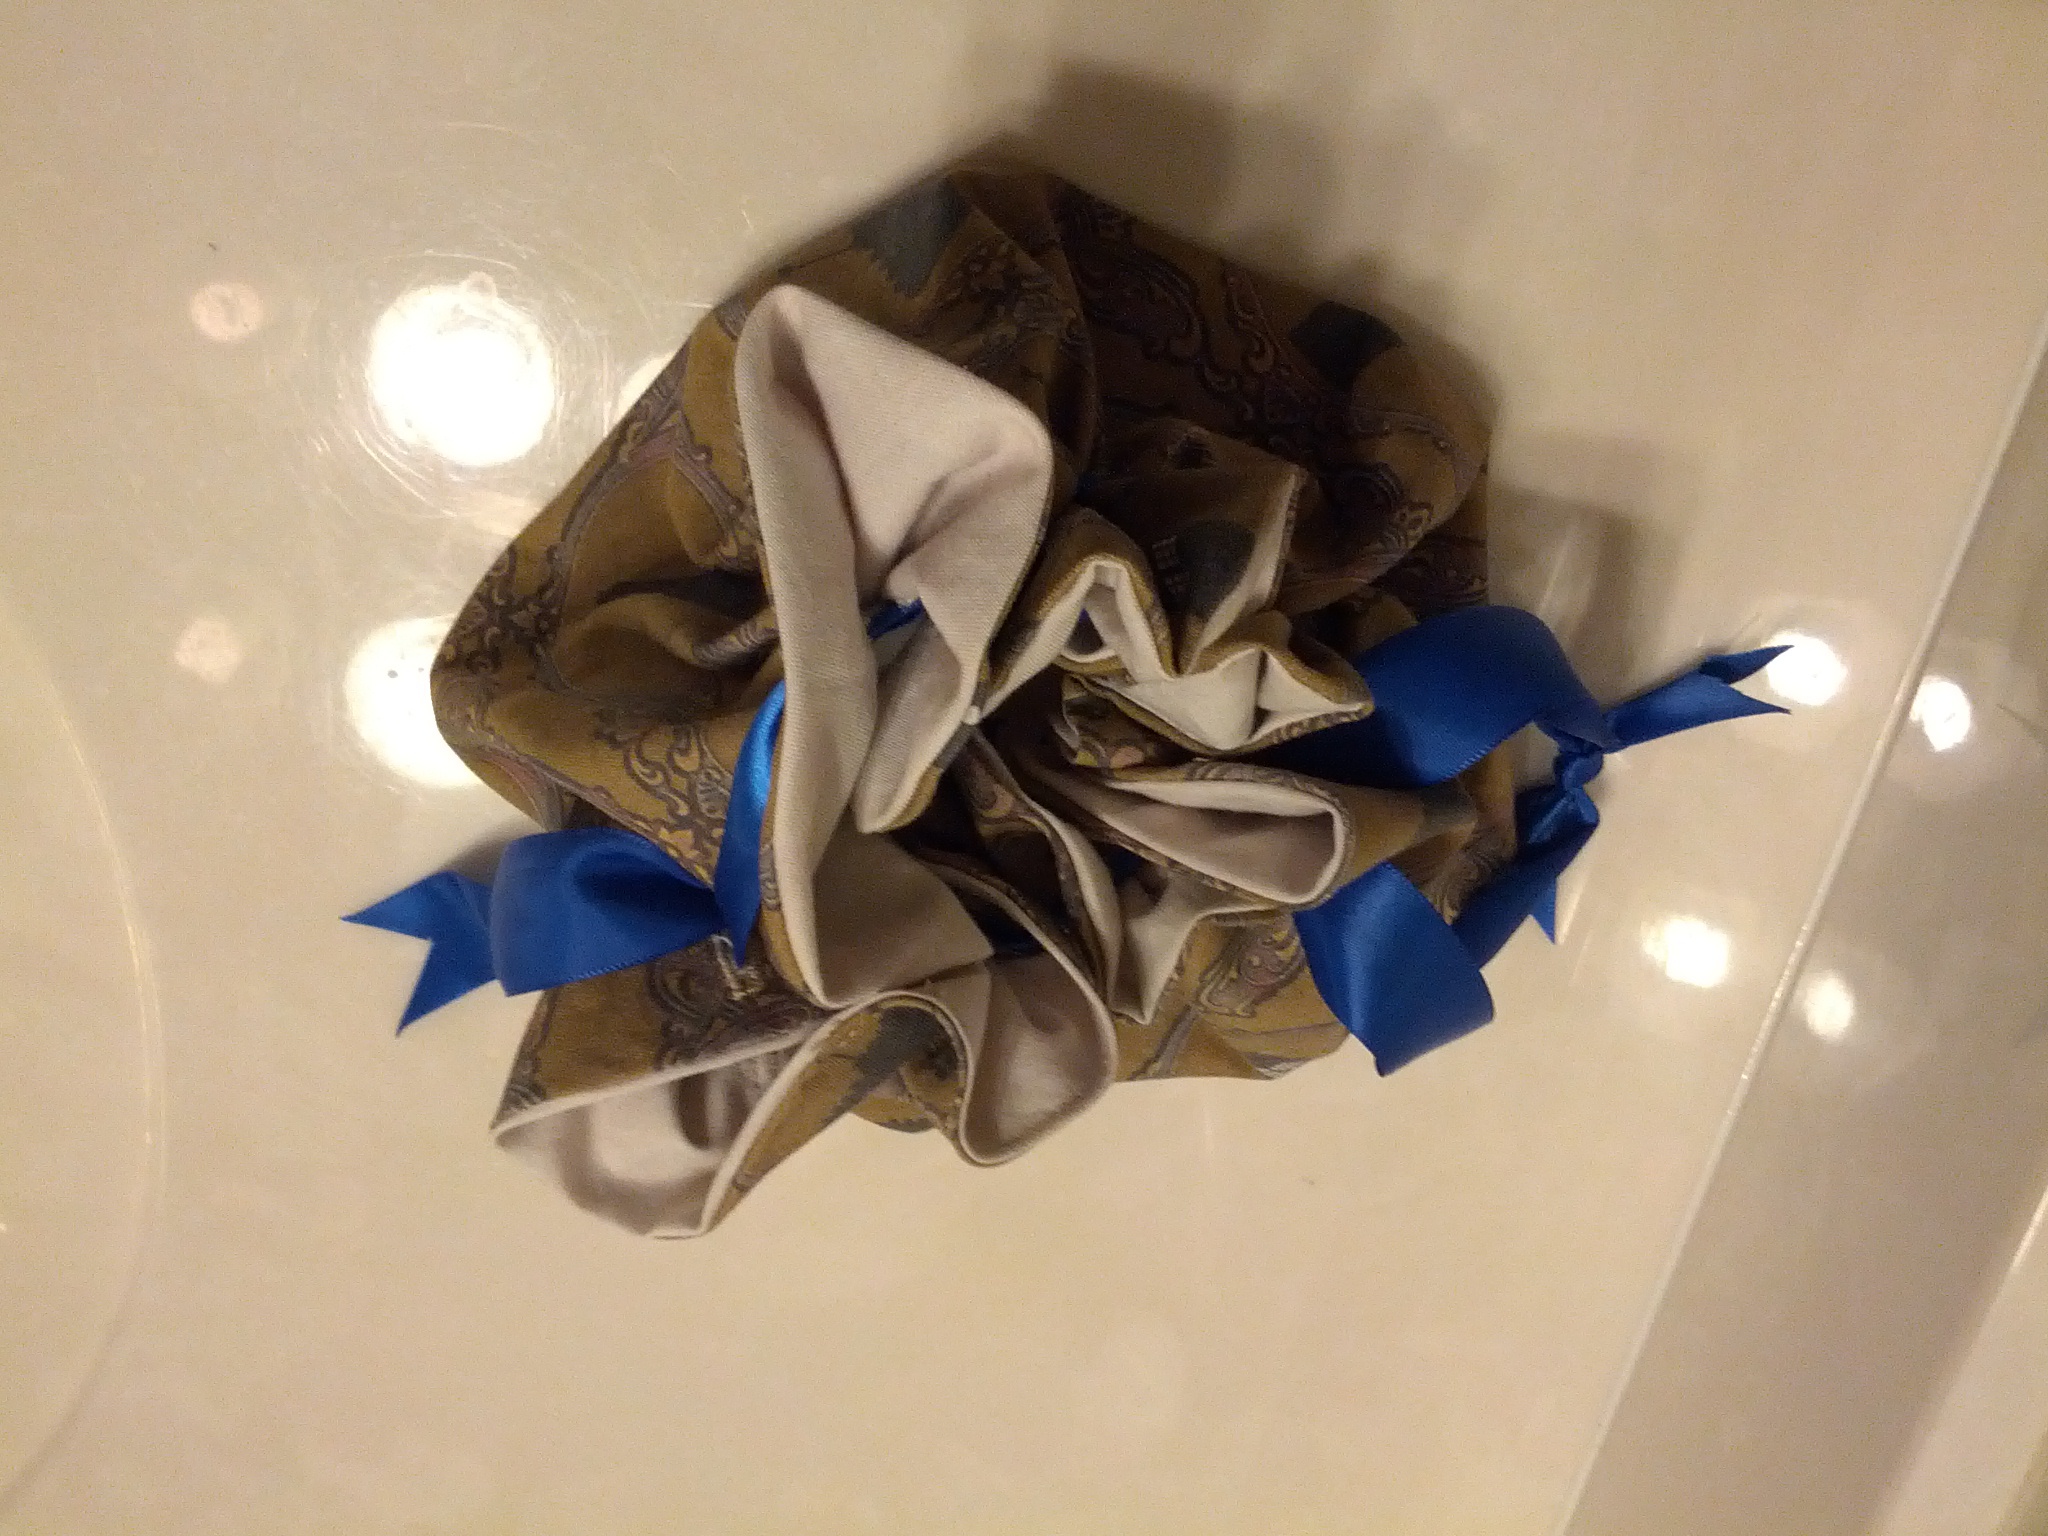
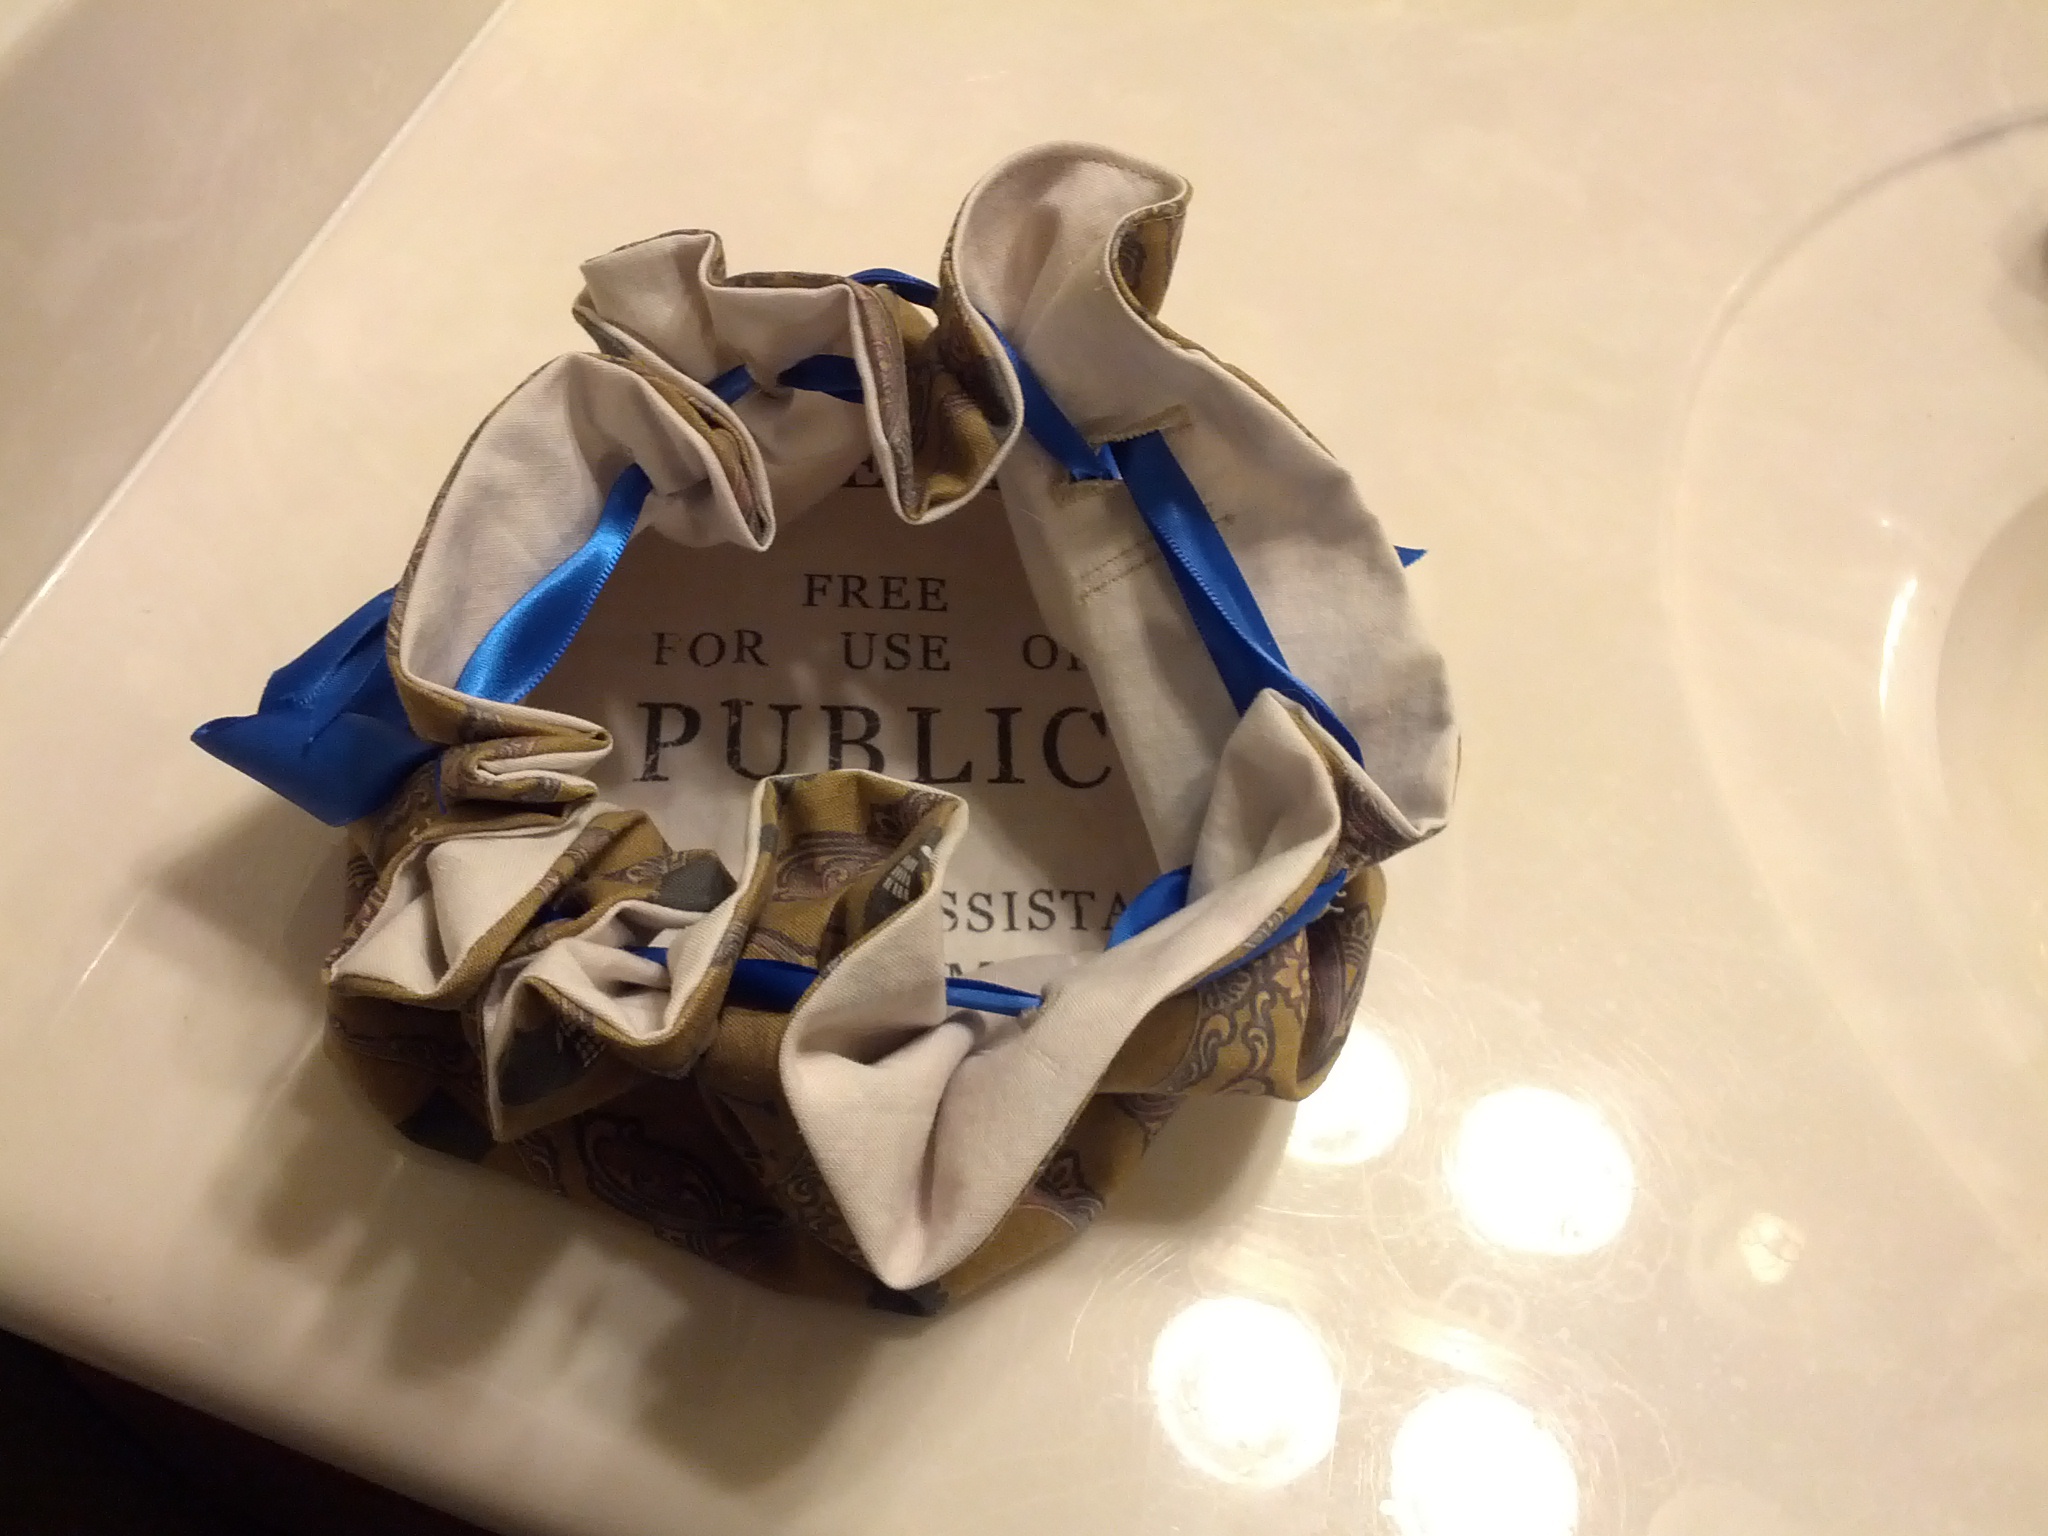
much bigger on the inside
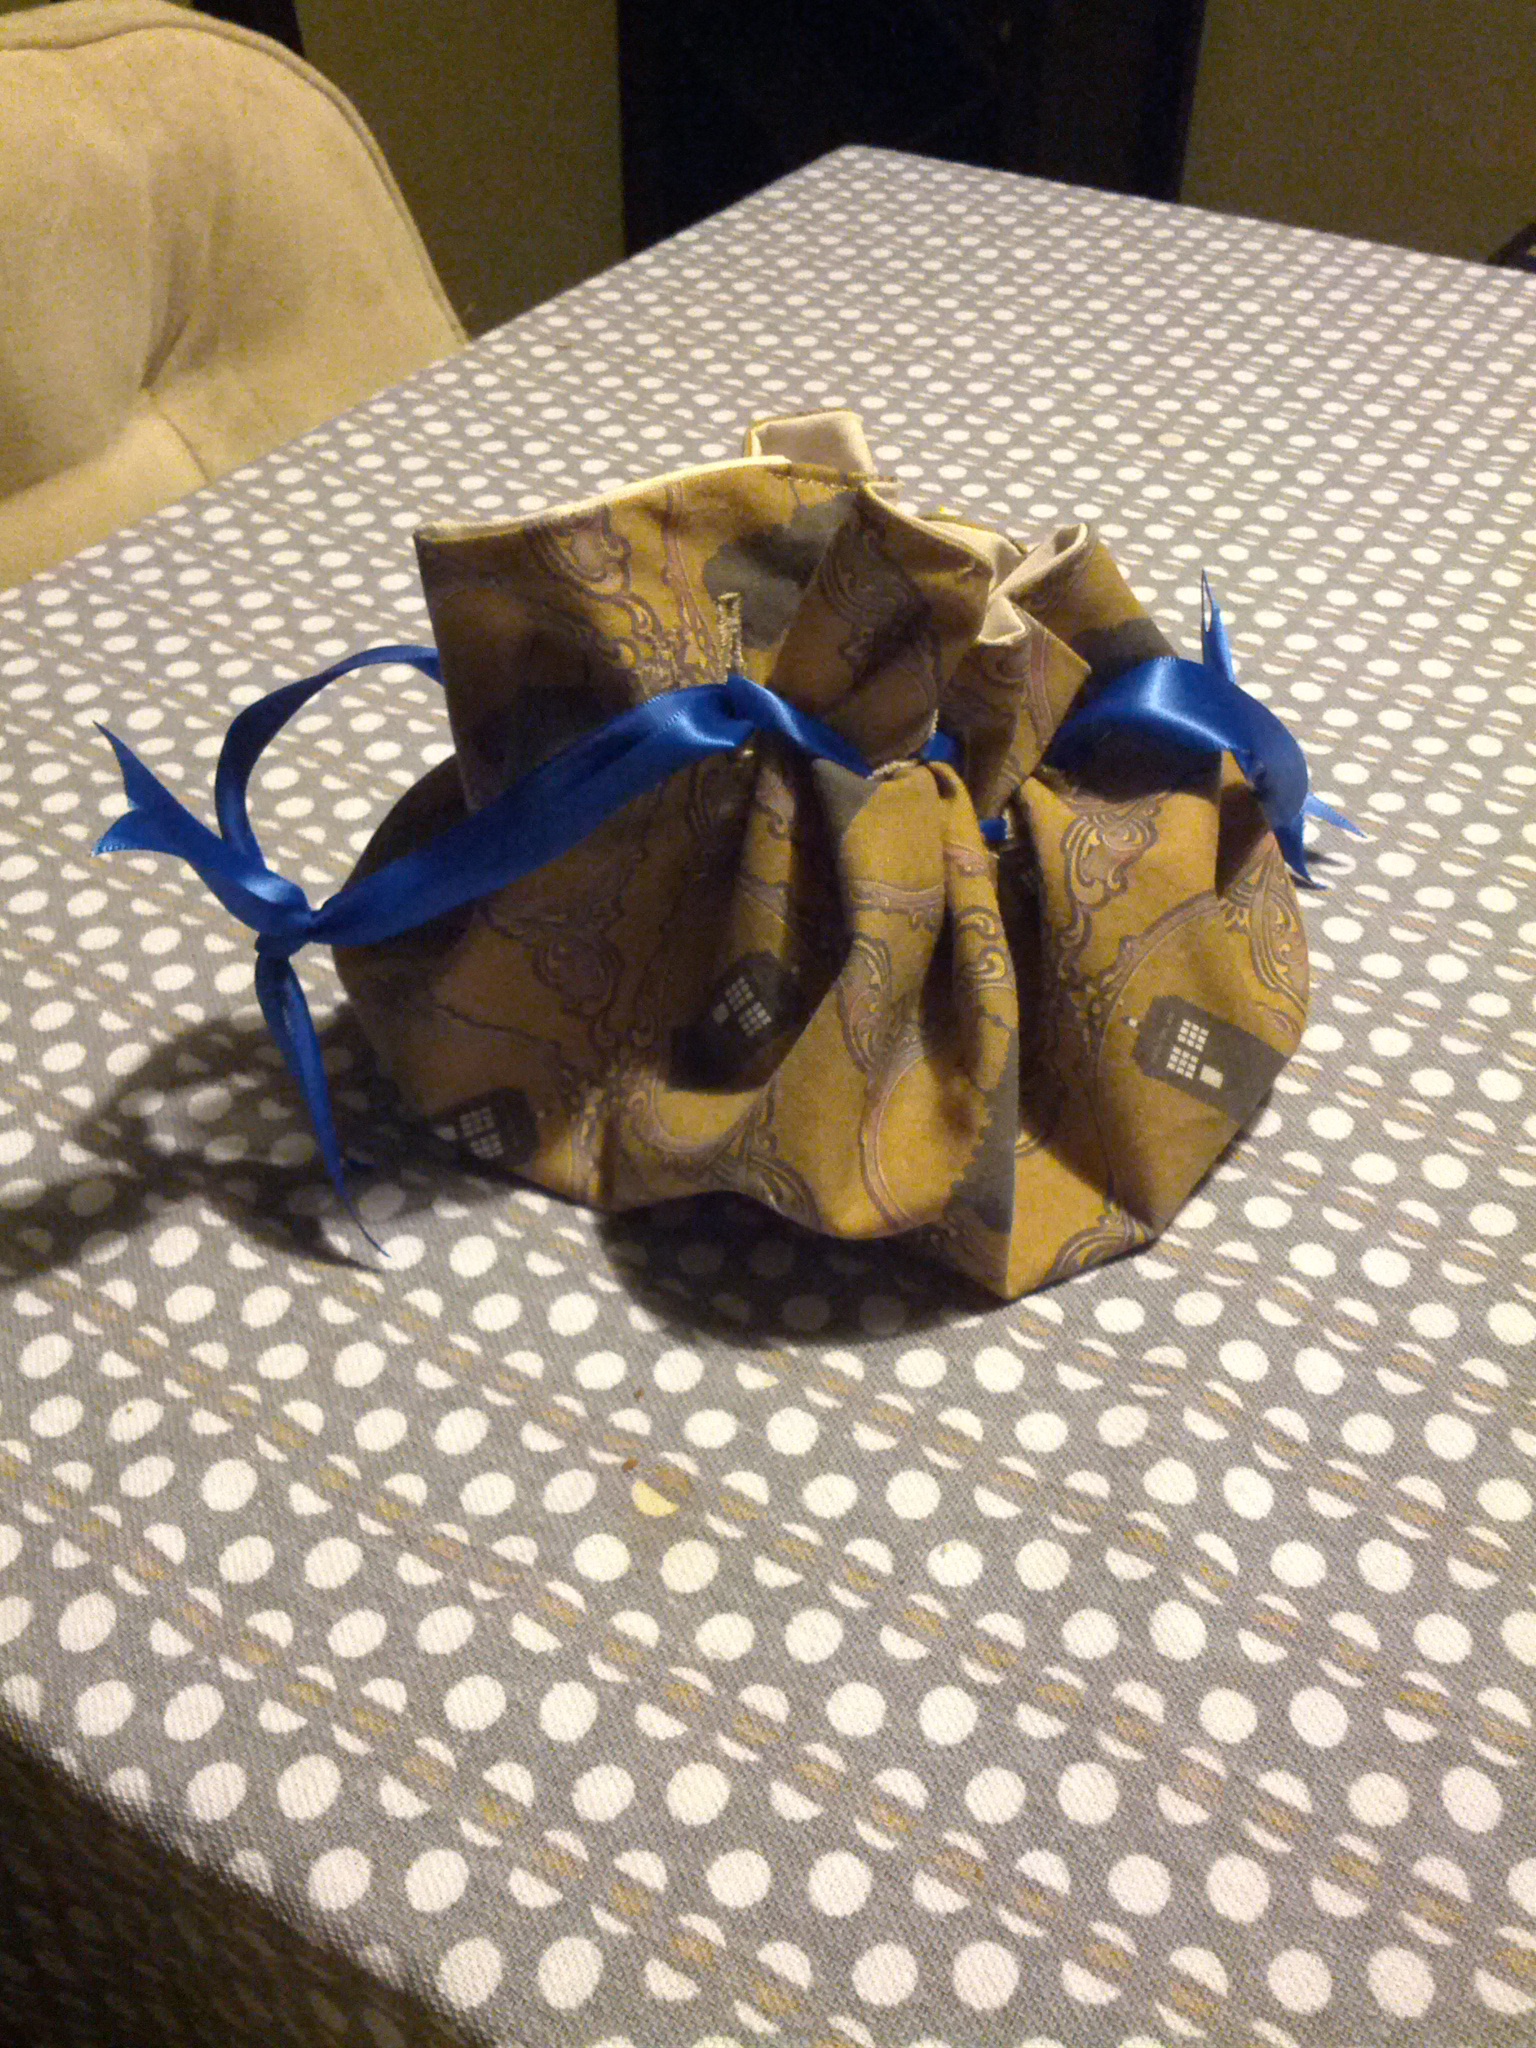
A really great friend was moving so I decided to make her something for the road trip. It started out as an idea to put a bunch of stuff for her roadtrip together (happy memories and goodies) but then I realized I wanted to make something too. She's my crafting buddy and I wanted to make her something meaningful... so I decided on making a drawstring bag with this amazing Doctor Who fabric that I had been waiting to use for sooo long. I'm going to miss the hours and hours or crafting and talking (perler beads, sewing, me crocheting, embroidery, every geeky topic under the sun). We'll be continuing digitally so this site is great to show her what i've been working on :-)
I think I nailed the tardis blue ribbon (ok, one of the tardis blues)
The bag tutorial I used: http://www.sunnyincal.com/2013/01/round-draw-string-pouch-tutorial.html
The spoonflower Doctor Who fabric (inside): http://www.spoonflower.com/fabric/818999 (the outer fabric is no longer available)
Embroidery project: imitation is the sincerest form of flattery right?
A while back, I had an idea to take one of my sister's amazing images and transform it into embroidery. It was a neat experience because translating digital pen strokes with thread was difficult and resulted in lots of picking things out and trying again.
The photo below is my work (framed) and some of the work in progress shots.
Link to the original image: http://31.media.tumblr.com/tumblr_m9fzaii4UG1ro0sszo1_1280.jpg or http://www.kellywilsonwight.com/tagged/artwork/page/2


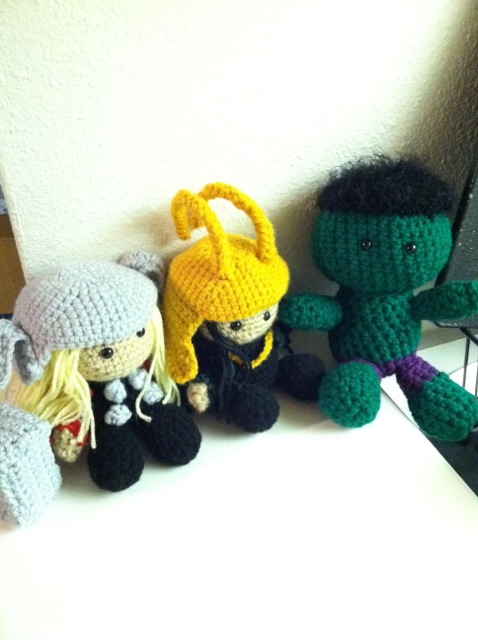
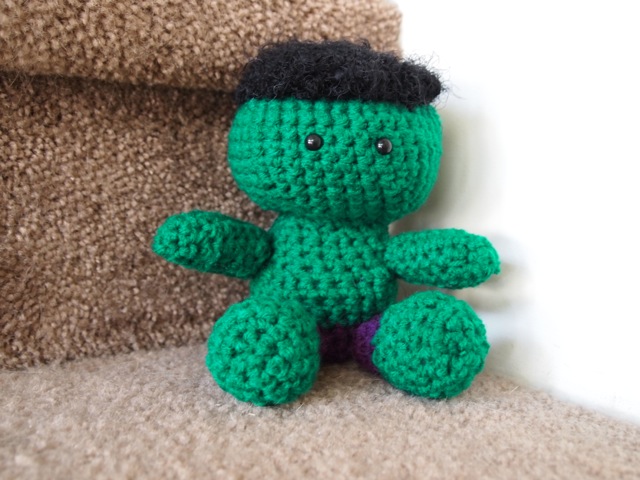
yarn hulk *smash*
I modified the Thor amigurumi pattern from http://overthebifrost.tumblr.com/thorpattern to make the hulk. He is a gift for the same friend I made Loki and Thor for. Using the eyelash yarn was fun and it is extremely soft!
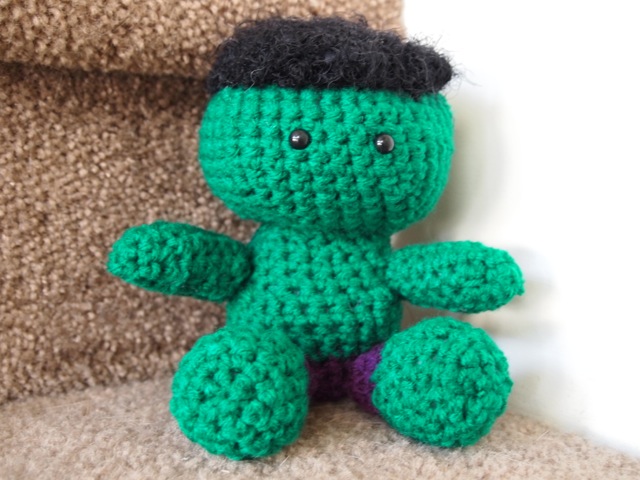
I made the following changes from the pattern:
- Used a larger hook J
- Added a row of 2 on the head
- Added a row onto the body. I started out with purple and changed to green at row 6
- legs and arms both had one extra row.
FYI, the eyes are 7.5 MM from http://www.suncatchereyes.com/ (they are the best for amigurmi projects)